Sometimes, when you're going through a bad patch, you want a project, any project, on which you can focus. In this case, this was the immediate aftermath of a small but serious health scare for me (Ben) during the summer, which was happily resolved with no problems in the end. Having somewhat lost my artistic mojo with the fear of impending health problems, and needing something to get me going again. I came across a competition on the Airfix website, to create an image with one of their kits. If it won, the winner would get £100 to spend on the site. The downside was that being in the West Midlands at the time I spotted the competition, I'd have just over a week to get something shot and also had no access to any models, tools, etc. The upside was that I'd be off up to Wales for the latter part of the week which would at least mean some decent locations for a shoot.
I chose three options, as outlined below in the very rough treatment...
Though realistically, in the timescale, building a kit from scratch wasn't really an option, so the Ready Made kit of the VW camper was the best option.
This was then worked up into a slightly more detailed plan.
Of course, the kit we already owned was back in Yorkshire, which was an issue, and the few model shops still open in the West Mids didn't have any in stock. Happily, the excellent Porthmadog Models near where we'd be staying had one, so I rang them up and got them to reserve it.
Incidentally, not only does a cup of tea aid model building, it is somehow more satisfying when drinking it from an 8-Bit games style Ffestiniog Railway printed mug...
The assembled kit. If I'd have had my model paints handy I think I'd have done some of the details in silver, like the hubcaps and the wing mirrors, and given it a bit of weathering but hey-ho.
Going back in time by a couple of days compared to the model building bit above, a problem I had was needing a set on which to photograph the camper van, and a simple set at that given the timescale. Real life rarely scales correctly for miniatures builds, so a foreground set which could blend into the background would make life rather easier. I planned on a car park, surrounded by low dunes.
I had a sheet of board lying around in the West Mids from an old project before I moved out about ten years back, and raided the recycling box for some corrugated card and egg boxes for a bit of land forming.
This was then treated to a coat of filler, and then some brown paint (with the board getting grey for the car park surface) from cheapie test-pots from Wilkos.
Once in Wales, I chose the beach where I'd shoot the pics (more on which anon) and took a small pot of sand, so I could match the board into the surroundings when I got there. The painted board was then covered in PVA on the hills/dunes, and the sand sprinkled on.
Being as this was going to represent a beach scene, I needed some beach props. In a kind of nod to the Inflate-Deflate pics which I've returned to recently (and also to balance the composition of the shot) I wanted to have a large, transparent beachball on the right of the shot (being transparent it also wouldn't stand out too much in comparison to the van, given its size). Having thought about how I could pull this off, I spotted a transparent plastic ball in Wilkos whilst buying the paint, which contained elastic bands.
Whilst in Porthmadog Models, I managed to get hold of some fine masking tape, and then with some sharpies, started colouring it in.
A windbreak was from a cut-up envelope and a few nails from the shed...
...coloured in with the sharpies. Again, something nice and brightly coloured for the background of the composition, and the nails would allow it to be placed into the dunes, and repositioned if necessary.
Some of the other props, all sourced in a slightly hurried scrounging session whilst still at my parents' in the Midlands- the spade is Playmobil, the ball unknown but possibly from an old board game, the dinosaur was a cheapie toy which once contained sweets (it was subsequently detailed a bit to look like another inflatable toy), and the chair was a prototype for a piece of office furniture, made when I was at school.
A very slightly ropy looking surfboard was hastily cut from cardboard then coloured in, but then it would only be an out-of-focus background item.
The sandcastle, again intended to be a fuzzy background item, was made from bluetak, coated in glue, then rolled in the sand. A nail was pushed through it, so that it could also be positioned in the scene, same as the windbreak.
The planned location for the shoot was Black Rock Sands, near Porthmadog, somewhere we'd used back when doing "The Home Is...". The downside of the location was that it was very public and quite busy, but the upside was there was free parking very close by, an important consideration when needing to shift large amounts of props and equipment to the location.
The recce led to this nice spot, about five minutes from the car; the background would give a nice, big sky, and would scale nicely for the shot, with the sun in the right place for a sunset pic.
Everything for the shoot...
...and a test composition.
Now at this point there was another issue; normally I'd shoot something like this on the SLR, but with the exceedingly tight deadline coming up, and the fact we were in Wales with no computer (the laptop having overheated earlier in the year, and having tried to laminate itself to the table), I'd be shooting and editing this entirely on my Mobile. After consideration, this was the only way I'd be able to get the shot and send it electronically in time for the deadline.
We got hold of some clip-on fish eye and wide angle lenses for the phones too at this point, and so I thought I'd try it out. Not bad, and adds to the trippy 60's vibe, but I reckoned for the final shoot I'd stick to the normal lens. I'd have enough to be worrying about on the night...
Despite the weather forecast, the hoped-for clear sky and sunset didn't happen on the evening of the shoot. With time fast running out, I decided to just get things shot.
Actually the sky in the background wasn't too bad, when the model was set up.
The board was part-buried in the sand.
Everything was set up, with me grovelling around in the sand to get the right angle (much to the amusement of Amy and the Foster Childs, who had accompanied me in both the capacity of Assistant (Amy) and Sarcastic Old Men On The Balcony From The Muppets (the Childs).
I tried a close-up, but wasn't too happy with it.
The planned original composition came out better.
I also tried grey scale, but the picture at the top, slightly colour-tinted in post production, was my favourite, with the addition of a little extra lighting from a small torch.
Sending the pic off was a nightmare, and I don't think it actually sent in time; the vagaries of the Wifi where we were staying meant that I couldn't send it through Facebook (their preferred method), so had to email it, and I strongly suspect nobody was checking the emails anyway given it was a weekend when it was sent. The winner (deservedly so, admittedly) was a shot with a downed German fighter plane being examined by soldiers; exquisitely painted and set-up, and the wartime theme probably ticked more of the boxes for Airfix than my own drippy-hippy entry would have anyway.
I wish I could have got the sunset, but other than that, I'm very happy with the shot. I needed a distraction project, and also including the price of the kit which was the majority of the spend, it cost exactly £19.50 to do the shoot.
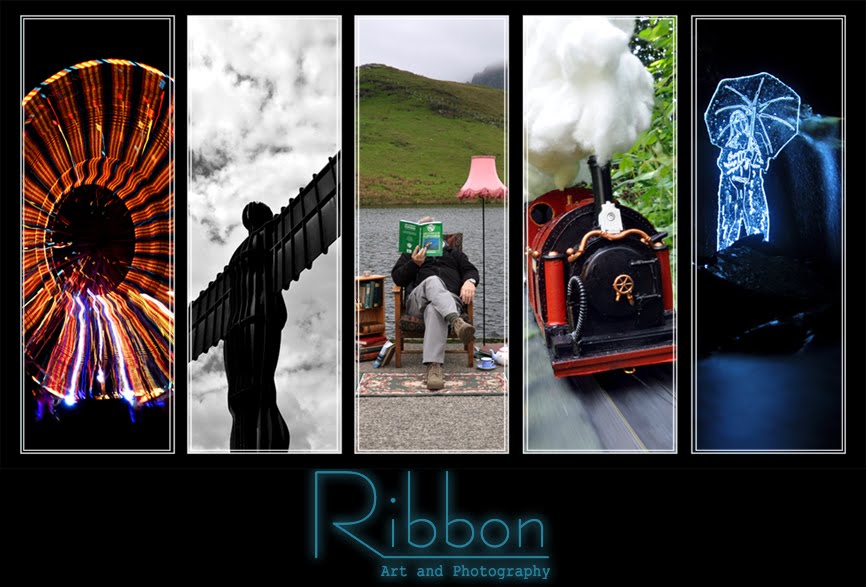
On the subject of miniatures, I'm reviving the model making blog shortly, to start with I've put up the detailed backstory, build, concept art and models, and final build, for the Jabberwock project from last year. Which is the reason (given it runs to something like 30-odd posts) we've been so slow updating this Ribbon blog with the post-summer stuff). It's all here;
http://bensmodel-makingworkbench.blogspot.co.uk/2017/10/jabberwock-in-beginning.html